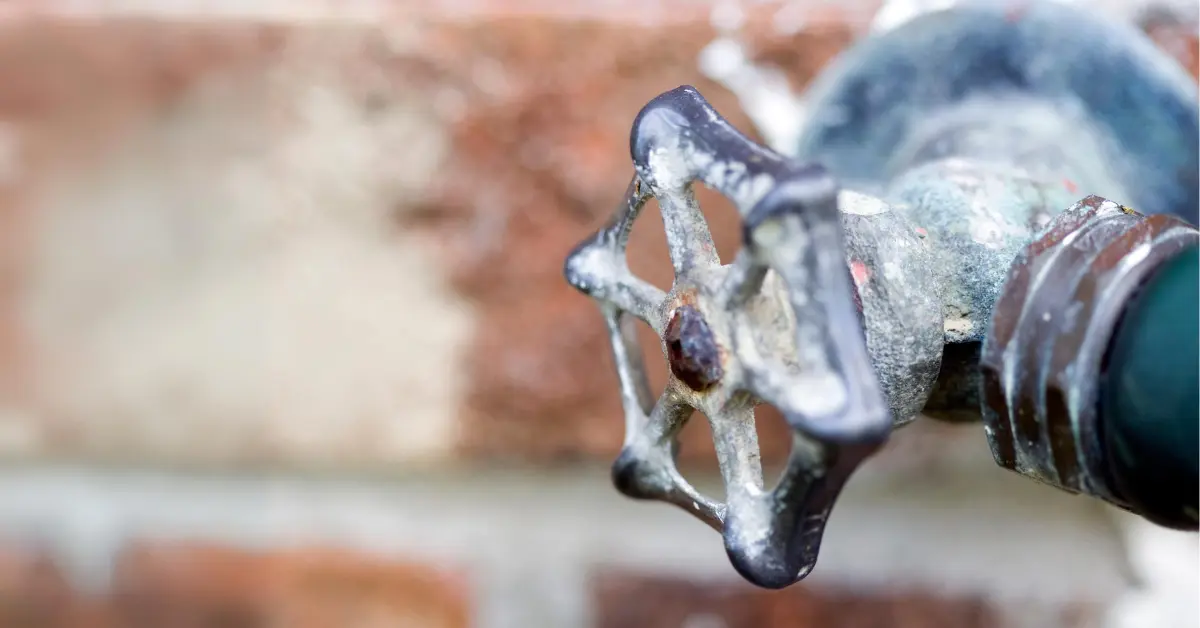
A broken or leaking outdoor faucet can turn into a flooded mess in no time. But before calling a plumber and shelling out money for a seemingly simple repair, why not try fixing the outdoor faucet yourself?
Repairing or fixing an outdoor spigot is often an easy DIY project that can save you time and money.
In this step-by-step guide, you’ll learn how to repair a leaky or non-functional outdoor faucet.
How To Take Apart an Outside Faucet?
- Before starting the disassembly process of the outdoor faucet, locate the shut-off valve for the faucet and turn it clockwise until it stops. This will prevent water from flowing through the outdoor faucet and making a mess.
- Unplug the hose from the outside faucet by pulling it straight off. If the hose is stuck, use a wrench to loosen any connections.
- Unscrew the screws that hold the handle in place and gently pull it off. Set the handle aside.
- Locate the aerator, which is usually located at the tip of the faucet. Use a wrench to loosen the nut holding it in place, then remove the aerator.
- Use a cloth or brush to clean any debris or mineral buildup from the faucet parts. Inspect each part for signs of wear or damage and replace anything that looks worn or damaged.
How to Repair a Leaky Outdoor Faucet?

- Depending on the type of outdoor faucet you have, you may need to remove the handle, the aerator, or the entire faucet body to access the leak.
- Use a wrench or pliers to loosen any retaining clips or nuts that may be holding the parts in place.
- Once you have access to the internal parts of the faucet, look for signs of wear or damage that could be causing the leak. Common areas where leaks occur include the O-ring or gasket, the valve seat, or the faucet cartridge.
- If the leak is coming from a worn-out O-ring or gasket, you can replace it with a new one. Make sure to get the correct size and type of O-ring or gasket for your specific faucet model.
- If the leak is coming from the valve seat, you may need to replace it. Use a valve seat tool to remove the old valve seat and install a new one. Make sure to apply the plumber’s tape to the threads of the new valve seat to create a watertight seal.
- If the leak is coming from the outside faucet cartridge, you may need to replace it. Use a wrench or pliers to remove the old cartridge and install a new one. Make sure to align the new cartridge properly with the faucet body and apply the plumber’s tape to the threads to create a watertight seal.
- Once you’ve replaced the defective part, reassemble the faucet in the reverse order of how you disassembled it. Make sure to tighten all parts securely, but avoid over-tightening, which can damage the threads.
Some other tips to keep in mind when repairing a leaky outdoor faucet include:
- Use Teflon tape or pipe dope to create a watertight seal on the threaded connections of the outdoor faucet.
- Replace any worn-out washers or gaskets that you encounter during the repair process.
- Consider replacing the entire faucet if it’s old or has significant damage.
How to Replace an Outdoor Faucet?
- Locate the water supply line that connects the outdoor faucet to the house and disconnect it. Use a wrench to loosen the coupling nut that holds the line in place, then pull the line away from the faucet.
- If your outdoor faucet has a built-in drain, you’ll need to disconnect the drain line from the faucet. Use a wrench to loosen the coupling nut that holds the line in place, then pull the line away from the faucet.
- Now to remove the old outdoor faucet use a wrench to loosen the mounting nuts that hold the faucet in place. Now carefully lift the faucet out of its mounting bracket.
- Now place the new faucet into its mounting bracket and screw it in place using the mounting nuts. Make sure you properly align the level of the faucet.
- Attach the water supply line to the new outdoor faucet
- Now make sure every nut is tightened properly.
- If necessary, attach the drain line to the new faucet.
How Much Does It Cost To Fix an Outside Faucet?
The cost to repair an outside faucet can vary depending on the severity of the issue. If it’s a minor fix, like replacing a washer, it may only cost a few dollars for the part.
However, if the faucet needs to be fully replaced, the cost typically ranges from $100 to $300, with an average price of $175. This includes the cost of the new faucet, which can range from $10 to $60, plus labor costs of $150 to $200 per hour. It’s recommended to hire a professional to ensure the job is done correctly and to avoid causing further damage.
Cost breakdown of fixing an outside faucet:
- Simple washer replacement – cheap (a few dollars)
- Replacing entire faucet – $100-$300
- New faucet cost – $10-$60
- Labor per hour – $150-$200
- Average total cost – $175
How To Fix the Broken Handle of Outdoor Faucet?
To access the broken handle, you’ll need to disassemble the faucet.
Use a screwdriver to remove the screws that hold the handle in place. Gently pull the handle away from the faucet body. In this process take care not to damage any parts of the faucet.
Once the handle is removed, take out the old handle and set it aside.
If the handle is damaged beyond repair, you should replace it with a new one. If it’s just loose, you can try tightening the packing nut that holds it in place.
Inspect the stem (the rod that connects the handle to the valve) for any signs of corrosion or mineral buildup. Use a cloth or paper towel to clean the stem and remove any debris. Apply a small amount of lubricant, such as WD-40 or silicone spray, to the stem to ensure smooth operation.
If you’re replacing the handle, attach the new one to the stem using the packing nut. Make sure it’s securely attached and won’t slip or come loose over time. If you’re reusing the old handle, make sure it’s properly aligned with the stem and tighten the packing nut.
Related Articles
- Right Way To Drain Your Outdoor Faucet For Winter
- Winterize Outdoor Faucet Without Shut-off Valve
- Measure The Size of Your Outdoor Faucet With This Method

James Lewis is a seasoned plumber and faucet enthusiast who shares his expertise on Faucetsavvy.com. With over 15 years of experience in the plumbing industry, he’s passionate about helping homeowners find the perfect faucet for their needs. He’s also dedicated to empowering DIY enthusiasts with the plumbing knowledge and skills needed to repair and maintain their faucets.
Recommended By Faucetsavvy's Team
Best Kitchen Faucets of 2025: Sleek, Durable & Worth Every Penny Check Our Review

